Basic And Advanced Permaculture Tools For Multi-Purpose Work
People who are just getting started might think they need a shed full of equipment before they can plant anything, but that’s not necessary. Permaculture systems are simple, long-lasting, and versatile.
So before you buy any tool, consider where and why you’ll use it. In 90% of cases, a small number of good hand tools will carry out the functions of a dozen inexpensive gadgets.
Also read: Permaculture Raised Beds: Tips for Beginners
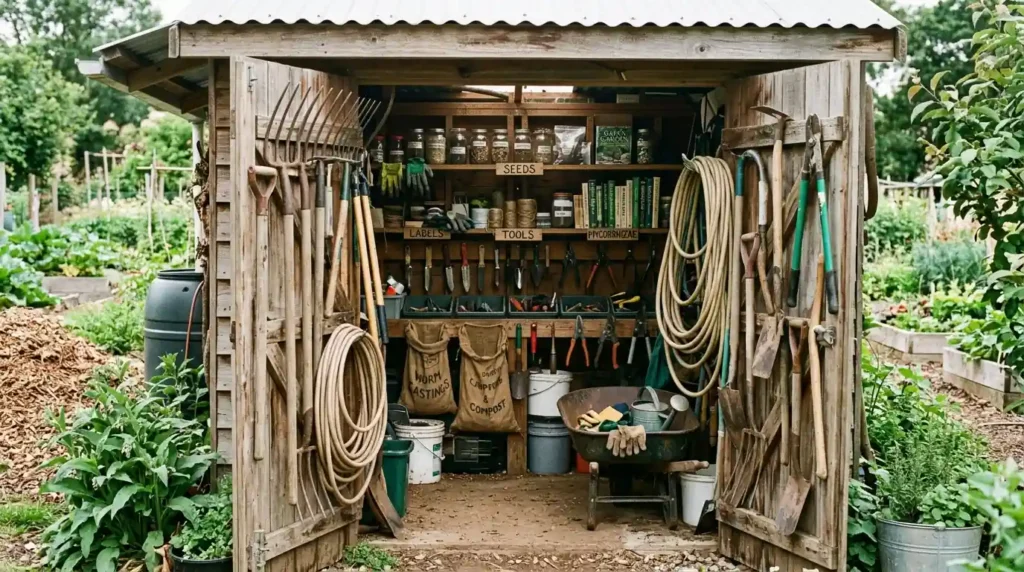
Table of Contents
Digging Permaculture Tools
The foundation of any permaculture design is healthy soil, and the aim should be to loosen it rather than turn it upside down, since that would destroy the life existing in it.
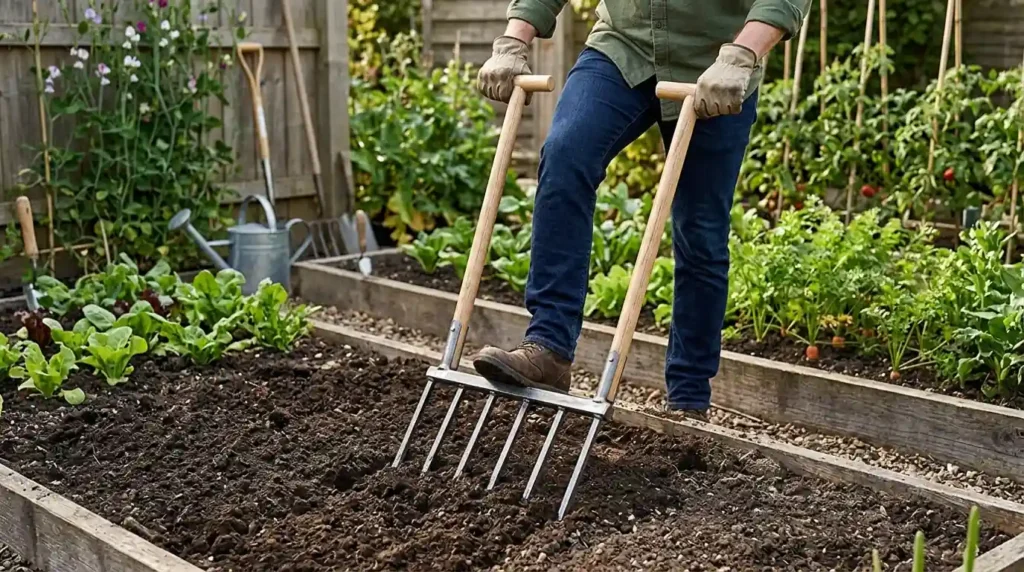
Broadfork: This is probably the most suitable permaculture equipment for outdoor enthusiasts. It has two handles and a number of long tines which you step on and rock backwards, thereby aerating the compacted soil without turning over the layers. For someone practising no-dig or low-dig gardening, this tool quickly justifies its place.
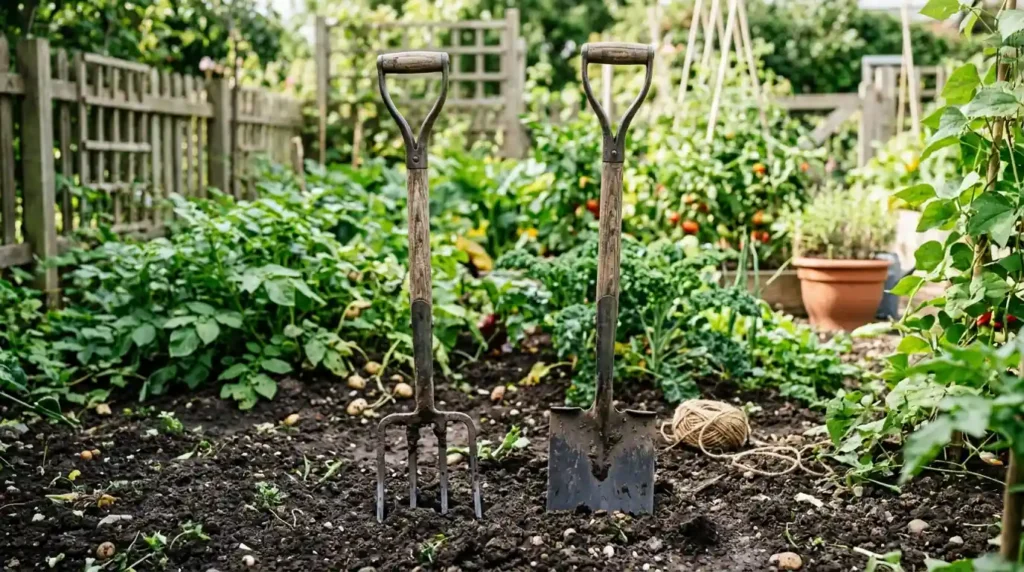
Digging fork and spade: A reliable digging fork is excellent for breaking soil, lifting root vegetables and turning compost. A spade is more suitable for edging beds, for transplanting and for cutting clean trenches. When choosing one, look for one with forged steel and a solid ash or fibreglass handle because cheaper ones tend to bend and snap at the most inconvenient time.
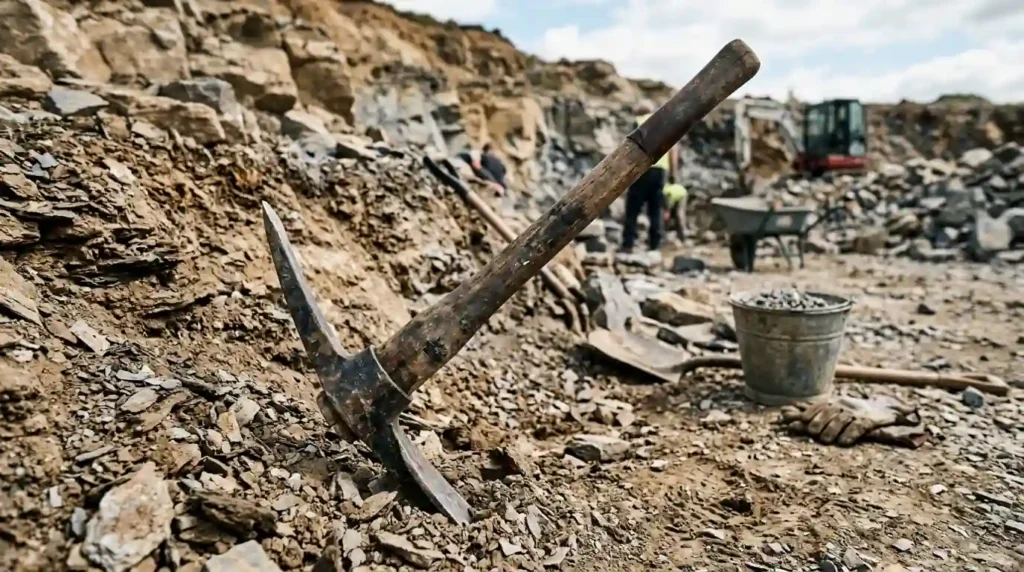
Mattock or pickaxe: With hard clay, on rocky ground, or when dealing with tenacious roots, it is the mattock that takes on the main job. It is also very useful when you are digging swales or making holes for planting fruit trees.
Hori hori knife: This Japanese soil knife is in a way a kind of cheat code since it can be used for digging, cutting, sawing, weeding, and for measuring planting depth (most of them have notches on the blade). It would be the tool you’d choose if you could only carry one small tool.
Weeding and Bed Management Tools
In permaculture, weeds aren’t always an enemy (since many of them are dynamic accumulators or edible ones), but you’ll still need to keep them under control in the appropriate areas.
Stirrup hoe (hula hoe): On both the forward and backward strokes, the oscillating blade cuts the weeds just below the surface, making the process quick and easy on the back.
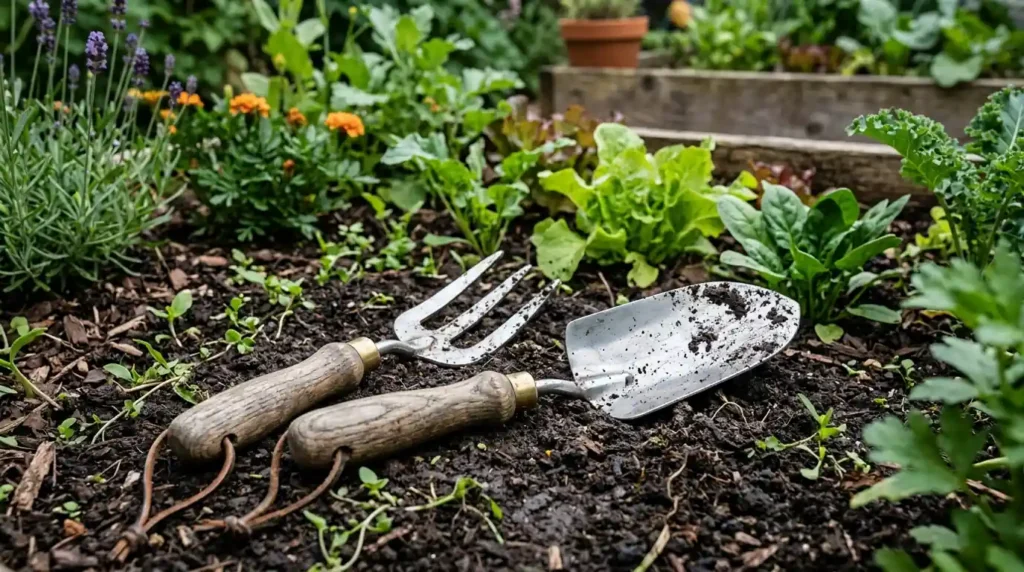
Hand fork and trowel: This forms the basic foundation of small-scale planting. Make sure that both tools are within easy reach, and remember that a trowel marked with depth lines makes it much easier to space out the seeds and bulbs.
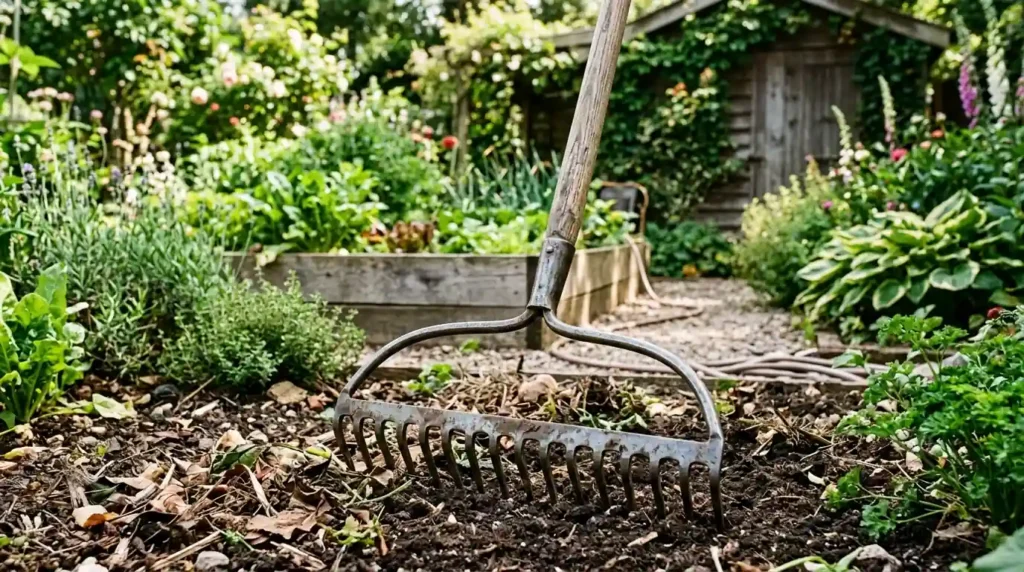
Rake: A bow rake is useful for levelling beds and for spreading mulch, whereas a leaf rake is for collecting the free organic matter that falls from your trees each autumn.
Mulch fork: Mulch is one of the most important elements in a permaculture system. A mulch fork makes it much less of a job to move straw, hay and woodchips than a normal shovel does.
Pruning Permaculture Tools
The trees, shrubs and perennials form the foundation of a permaculture food forest, which is why you should have some good cutting tools if you want them to remain productive.
Also read: 25 Easy-to-Care-for Plants for Permaculture
Secateurs (hand pruners): A bypass pair can cope with stems as thick as a pencil or as thick as your finger. Do not use anvil-style pruners on live wood since they squeeze rather than cut.
Loppers: This provides you with additional leverage when dealing with branches that are about an inch or two in thickness.
Pruning saw: When it comes to thicker materials, it is safer and more accurate to use a folding pruning saw rather than chopping them up with a hatchet.
Scythe or sickle: “Chop and drop” biomass or hay-making by cutting the grass for use as mulch is a fundamental practice in permaculture. The scythe is quiet, requires no fuel, and is surprisingly enjoyable when you’ve got the technique down (only make sure you learn how to sharpen it properly, since a dull blade involves more effort and is more dangerous).
Water Management Tools
A major aspect of permaculture design is catching, slowing down, and storing water, and this is greatly facilitated by a few essential tools.
A-frame level: A simple tool that you can make yourself will enable you to locate the contour lines over your land, something which is necessary if you are to construct swales, ponds and terraces. It is almost nothing to build and always works.
Line level and string: A line level attached to a taut string can achieve the same result if you don’t wish to construct an A-frame.
Rain barrels and water tanks: One of the simplest benefits of the entire system is to collect run-off from roofs. You should remember that gravity will do the job for you at no cost as long as you place your storage area above your garden.
Drip irrigation and soaker hoses: If watering is necessary, then delivering the water directly to the root area is much more efficient than spraying it from above.
Ollas: The unglazed clay pots, when buried in the soil, gradually supply water to the nearby roots. This is a smart and low-tech method of reducing the amount of time you need to water in dry climates.
Composting Permaculture Tools
Compost bins or bays: No matter if you construct one from pallets or choose to buy a ready-made unit, you should have a separate area in which to turn your kitchen scraps and garden waste into black gold.
Compost thermometer: A thermometer with a long stem allows you to check whether your pile is heating up properly, which is a good indication that the microbes are carrying out their role.
Worm bin: A worm farm can turn food scraps into castings and liquid fertilizer, and it requires only a rather small amount of space.
Soil test kit: Carrying out tests on the pH and nutrient levels of your soil eliminates the need for guessing when you’re trying to improve it. The tests should be carried out once a year or whenever your plants are not growing as you expect.
Garden sieve: Useful for sieving out finished compost and for producing a fine mixture for starting seeds.
Planting and Propagation Tools
Dibber: A wooden or metal spike of this kind is used for making even rows of holes for seedlings, garlic, and bulbs.
Seed trays and pots: The idea of reusing and repurposing containers is in perfect harmony with the principles of permaculture, which means you have no need to buy new ones each season.
Grafting knife: For anyone who is growing fruit trees, learning the technique of grafting gives access to a wide range of cheap and hardy varieties. A sharp and well-committed knife is needed in order to make cuts that heal correctly.
Cold frame or mini greenhouse: A longer growing season allows you to get your plants set up earlier, and a simple frame constructed from reused windows works very well.
Harvesting and Carrying Tools
Harvest knife and snips: It’s better for the plant and for the vegetables to make clean cuts, so make sure you have a sharp blade available.
Trug or harvest basket: The basket is shallow so that it won’t crush the delicate crops and at the same time serves as a rinse station.
Wheelbarrow or garden cart: You will end up moving a good deal of compost, mulch, soil, and rocks. Although a single-wheel barrow is very agile, a two-wheel cart is more stable when carrying heavier loads.
Animal Integration Tools
If you’re keeping chickens, ducks, or other kinds of livestock as part of your system, then it’s worth thinking about a few extra items.
Also read: Things to Consider When Making a Permaculture Pond
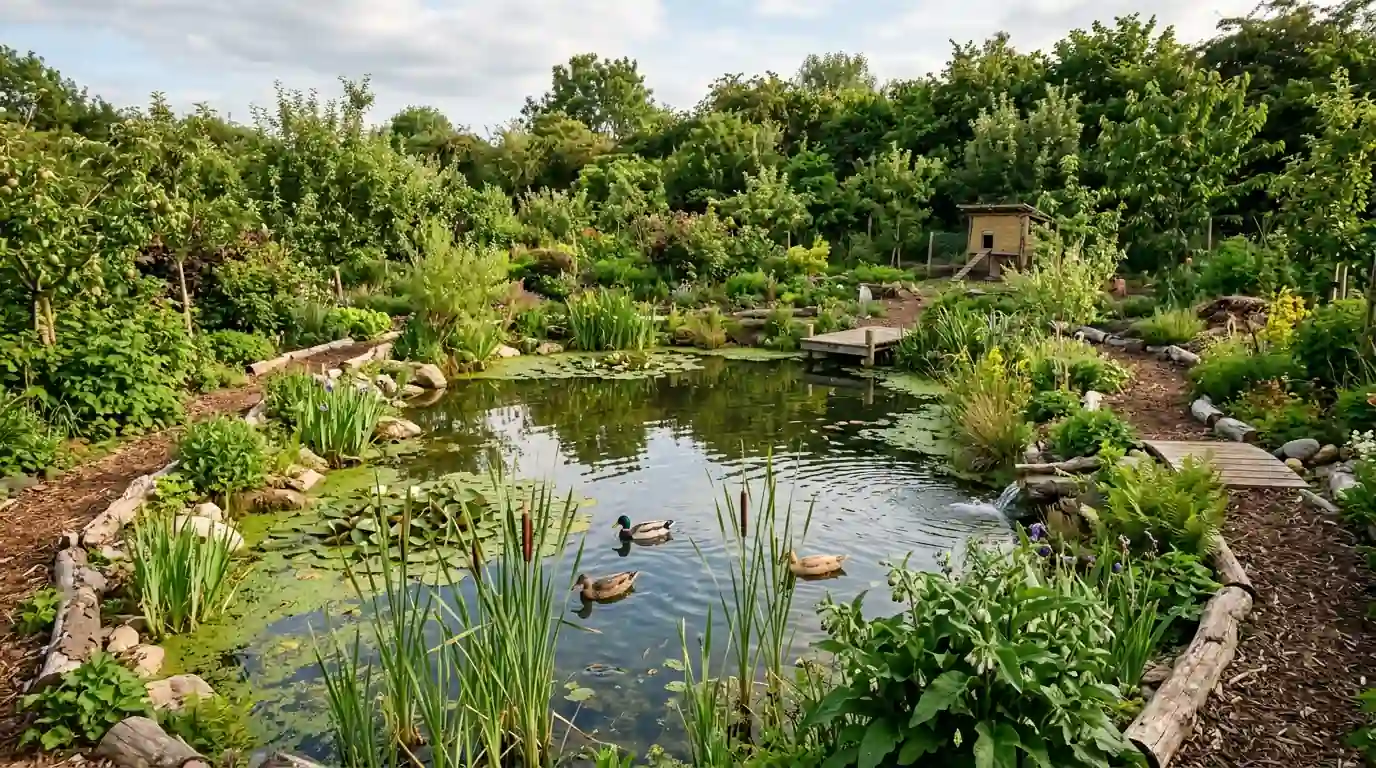
Chicken tractor: With a portable coop, you can have your birds dig the soil, act as a natural fertilizer, and remove the weeds from a section of ground before you plant it; by moving the coop every few days, you will distribute these benefits evenly.
Electric netting or fencing: It provides a flexible method of rotating animals among different areas without the need for constructing permanent fences.
Design and Observation Tools
Since permaculture is based on observation, several of its best tools are not tools in the ordinary sense.
Notebook or garden journal: Keep a record of the sun’s position, the first frost dates, water flow, plant performance, and any mistakes you make. You’ll thank your future self for doing so.
Tape measure, stakes and string: The fundamental principles for planning out beds, paths and plantings should be followed before you begin digging.
Compass or clinometer: When you know the slopes and the positions of the sun, you can place the plants, the buildings and the water features in the correct locations.
Camera or phone: Taking photographs from the same place over the course of the year is quite an effective method for monitoring the changes that occur on your land.
Safety and Maintenance Gear
Gloves, boots and a hat: Choose a strong pair of gloves that yet allows you to feel what you’re doing, and don’t leave out sun protection.
Sharpening stone and oil: Since sharp tools are safer and enable each task to be completed more quickly, a basic sharpening kit is one of the best things you can invest in. If you keep your blades clean, lubricated, and store them in a dry place, they can last for many decades.
Choosing the Right Permaculture Tools for You
It’s not necessary to have all the items on this list when you first begin. Begin with a hori hori, a good fork, a pair of secateurs and a wheelbarrow, and then gradually add more to your toolkit as your projects develop, and your requirements become better defined.
Buying high-quality tools once is better than having to replace cheap ones every year, and secondhand shops and farm auctions are excellent places to discover reliable, traditional equipment at a much lower price. Take care when choosing your permaculture tools and look after them.


6 Comments